Administering medication at home can feel like a significant responsibility. Whether you are managing diabetes, undergoing hormone therapy, or using vitamin supplements, moving from a clinical environment to a domestic one brings a unique set of challenges. At SHD Medical, we believe that safety should never be compromised by a change of setting. By understanding the fundamentals of sterile technique, you can significantly reduce the risk of infection and ensure your treatment is as effective as possible. This guide breaks down the essential practices for maintaining a clinical standard of hygiene in your own home.
Important note: This article is for general information purposes only. Always follow the specific advice provided by your clinician and refer to the Patient Information Leaflet included with your medication or device.
These three terms are often used interchangeably, but they mean quite different things. Understanding the distinction matters when you are injecting at home, as it helps you identify which parts of your process require the most focus.
One of the most common mistakes made during home injections is rushing the antiseptic process. When you use Alcohol Pre-Injection Swabs or Alcotip Swabs, the goal is to decontaminate the surface of the skin.
However, alcohol does not kill microbes instantly. It requires about 30 seconds of contact and evaporation time to be effective. If you inject while the skin is still wet, you risk dragging live bacteria into the puncture site. Furthermore, wet alcohol causes that sharp "sting" often associated with needles.
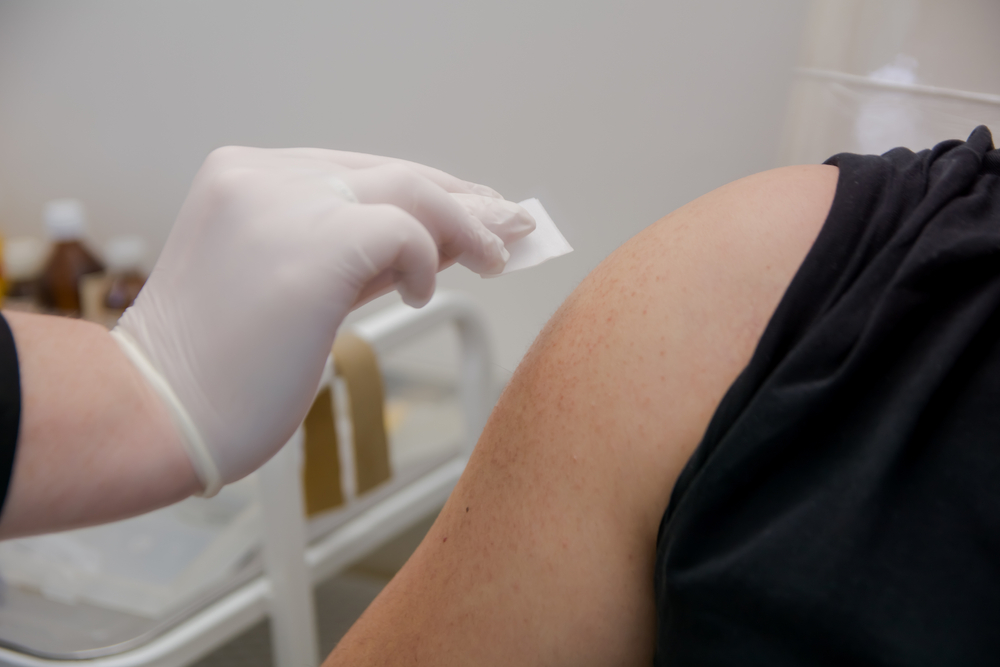
Key Point: Be Patient with the Prep - Never blow on the skin or fan it with your hand to speed up the drying process. This introduces bacteria from the environment or your breath directly onto the clean area. Wait the full 30 seconds for the alcohol to air-dry naturally.
A safe injection is not only about hygiene; it is also about correct medication handling. Before you proceed, perform a quick five-point check:
It can be tempting to reuse a needle "just once" to save on supplies or reduce waste. However, the damage to a needle happens at a microscopic level. After just one use, a needle that looked perfectly straight becomes jagged and barbed.
Reusing needles causes unnecessary tissue trauma, leading to bruising, scarring, and "lipohypertrophy." This is the build-up of fatty lumps that can prevent medication from being absorbed correctly. Most importantly, once a needle has touched your skin or the air, it is no longer sterile.
Key Point: One Poke, One Needle - Even if a needle looks fine to the naked eye, the microscopic tip blunts instantly upon contact with skin. Using a fresh needle for every dose is the only way to guarantee a safe injection.
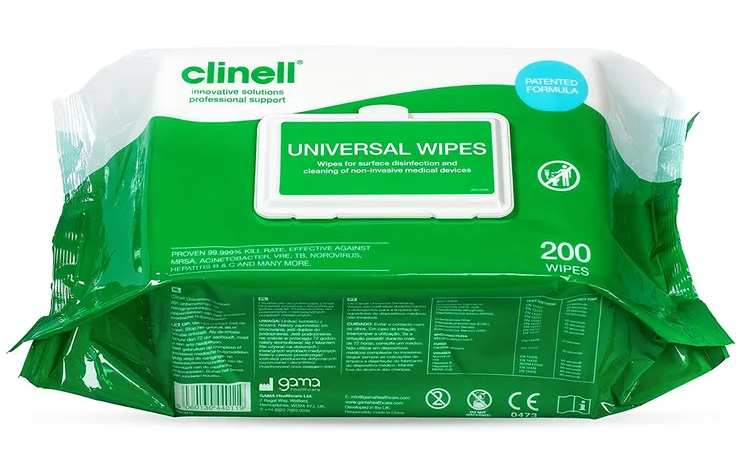
Before you open any packaging, preparation is your best defence against contamination. Start by choosing a well-lit, flat surface away from pets, open windows, or general household clutter. We recommend cleaning the surface with a household disinfectant or Clinell Universal Disinfectant Wipes, then laying out your supplies on a fresh piece of kitchen roll or a sterile field drape.
Washing your hands is the foundation of safety, but for an added layer of protection, using Medical Grade Gloves (AQL 1.5) ensures that you aren't transferring oils or skin flora to your equipment.
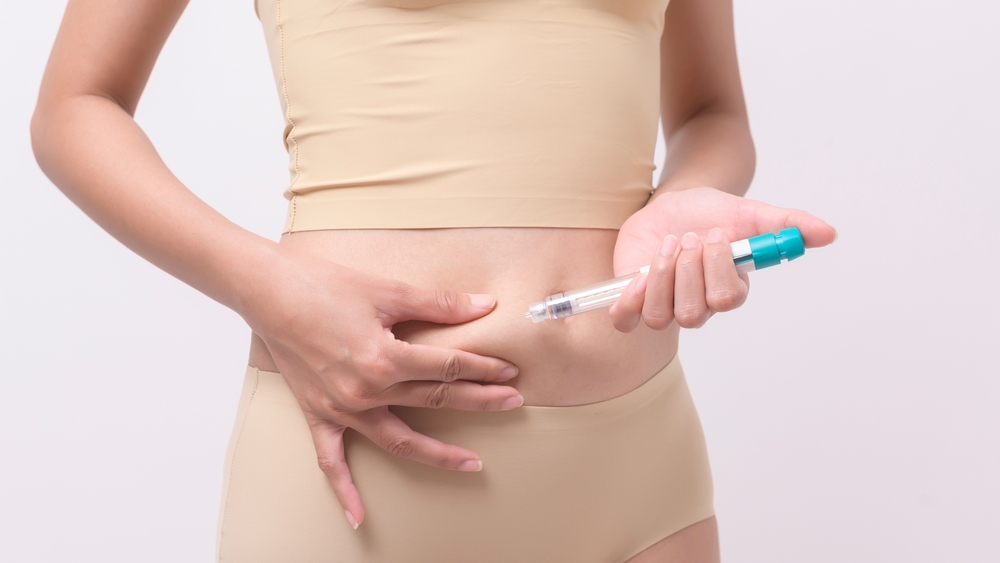
Key Point: Rotate Your Injection Sites Avoid injecting into the same easy spot every time. Identify a few suitable injection sites on your body and rotate them regularly. Always aim for a different spot, at least an inch away from your last injection, to keep the tissue healthy.
Once the injection is complete, apply gentle pressure with a clean cotton ball if there is minor spotting. Avoid rubbing the area, as this can irritate the tissue. The final step is the immediate disposal of your equipment.
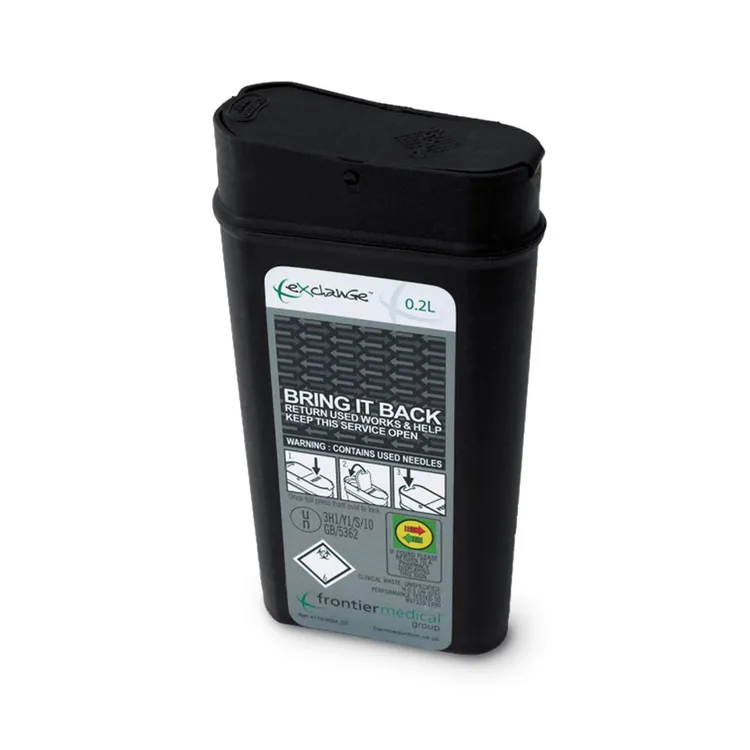
Key Point: Dispose of Sharps Immediately A needle should never be placed in a domestic bin or a plastic bottle. Use a dedicated sharps bin such as the Sharpsguard Cyto 0.6L Sharps Bin or Frontier 1L Sharps Bin Container immediately after use to prevent accidental injuries to yourself or others. In the UK, you can find local sharps collection options via the GOV.UK website.
When to seek medical advice: While minor redness is normal, seek clinical advice urgently if you notice spreading redness, increasing warmth, swelling, pus, fever, or red streaks travelling away from the site.
Disposable Gloves can be a useful addition, particularly if you are assisting someone else or if you have small cuts on your own hands. However, they are not a substitute for thorough handwashing and non-touch handling.The AQL 1.5 rating indicates a strict quality limit for pinholes, ensuring a reliable barrier. In Europe and the UK, medical gloves should also meet the EN 455 standard, which includes rigorous testing for freedom from holes.
Mastering sterile technique at home is about building a habit of mindfulness. By treating your workspace with respect, allowing your skin to dry properly, and always using fresh, medical-grade equipment, you take full control of your health journey. At SHD Medical, we are committed to providing the professional-standard supplies you need to stay safe and confident. Accuracy and clarity are our priorities, ensuring you have the tools to manage your care with professional precision.
Sources:
https://www.southtees.nhs.uk/resources/subcutanous-injection-self-administration/
https://www.ljmu.ac.uk/-/media/ljmu/news-and-events-files-images/imagesroot/ideas/files/intramuscular-injection-step-by-step-final.pdf
https://www.cdc.gov/injection-safety/about/index.html
https://www.allisonmedical.com/top-5-mistakes-people-make-with-diabetes-injection-needles-and-how-to-avoid-them/
https://www.nhsinform.scot/healthy-living/drugs-and-drug-use/advice-if-you-inject-drugs/
https://londonfriend.org.uk/safer-injecting-practices/
https://www.gov.uk/request-clinical-waste-collection

